
A5 wagyu changes the mechanics of roast-beef service. Its dense marbling rewards careful heat control, yet that same intramuscular fat can escape onto the carving board when the roast is cut too early or with a steep, dragging stroke. Resting gives the center time to settle; deliberate slicing keeps the marbling within each tender sheet of beef.
Quick Nav
- How A5 changed Tokyo carving boards
- Why premature slices spill fat
- The resting window for roast-style A5
- Blade angle, length, and slice thickness
- Adapting trattoria service at home
- The sequence for your next roast
When A5 Wagyu Reached Tokyo Trattoria Carving Boards
More marbling changed the service rhythm
Italian roast beef traditionally arrives at the carving board with a browned crust, a warm center, and enough structure for clean, broad slices. Moving from standard lean cuts to A5 wagyu carrying a Beef Marbling Standard rating of 8 to 10 changed that balance. The crust still mattered, but the roast now held far more intramuscular fat beneath it.
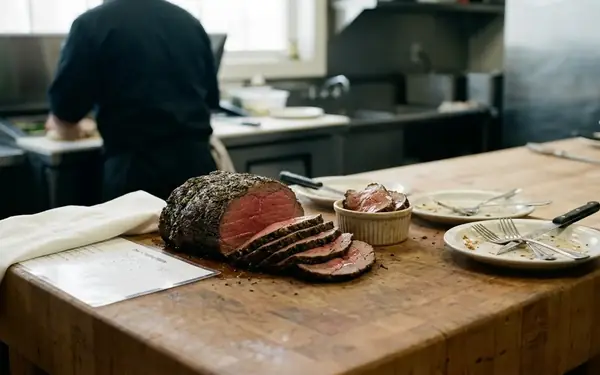
That fat looked luxurious as the beef left the heat. Once the knife entered too soon, however, the board told a different story: rendered fat ran from the cut face, the edges softened, and the marbling blurred instead of remaining visible through the slice.
Gran Bocca’s rest-and-slice method grew around this carving-board problem. Roast-style A5 needed a slower hold after cooking, followed by a lower cutting angle. Together, those adjustments allowed the interior temperature to equalize and reduced the pressure placed on the softened fat network. The goal was a slice that carried its marbling to the plate rather than leaving its richness behind on the board.
Marbling on the Move
A glossy puddle beneath the first slice signals that the fat remains highly mobile. Pause the carving instead of trying to outrun the loss.
Why Premature A5 Slices Spill Their Fat
Carryover heat continues after the oven
A roast does not stop cooking the moment it leaves the heat. In roast-style A5, the core can climb approximately another 3 to 5 degrees Celsius during the first 10 to 12 minutes of resting. A cook who slices at the apparent point of doneness may therefore cut while the center is still rising and the intramuscular fat remains fluid.
This creates two related failures. Meat juices spread across the board, while softened marbling smears along the blade and cut face. What should read as fine white ribbons becomes a greasy film. Repeated sawing makes the effect worse because each pass warms and drags the exposed fat.
Resting reduces fat loss during slicing, but grain direction controls tenderness. A roast contains long muscle fibers that become obvious once the first cut face is exposed. Slicing in the same direction as those fibers produces long, resistant ribbons, even when the beef has rested correctly.
Before carving, identify the lines running through the meat and turn the joint so the knife crosses them. This shortens the fibers in every serving and gives the slice its soft, yielding bite. If the grain changes direction within an irregular roast, divide the joint into sections and reorient each section before continuing.
How Long Gran Bocca Holds Roast A5 Before Cutting
A warm rack protects both crust and center
The roast leaves its hot pan first. Keeping it in contact with the pan exposes the underside to concentrated residual heat and encourages further rendering. A warm rack or board provides a gentler landing, while a loose foil tent limits heat loss without trapping enough steam to soften the crust.
For a roast of approximately 1.5 kilograms, the working resting window is 18 to 24 minutes. Kitchen cues remain important within that range. The surface should stop aggressively weeping, and the roast should feel settled when handled. It should still carry serving warmth; waiting for it to become cold allows the fat to firm and dulls the texture that makes A5 distinctive.
This extended protocol belongs to thick-cut, roast-style A5 prepared for trattoria service. Thin-cut steak follows different resting parameters and can develop cold, congealed fat if held for the same 18 to 24 minutes. Roast mass, rather than the A5 label alone, determines whether the longer rest makes sense.
A low-interference home sequence
- Lift the roast away from the cooking pan as soon as it comes off the heat.
- Set it on a warm rack or board and tent it loosely.
- Leave the center undisturbed instead of puncturing it repeatedly.
- At the end of the resting window, make one clean test slice and inspect the cut face.
Repeated thermometer or knife probes create extra channels for liquid fat and juices. One final test slice gives more useful information: a stable cut face, distinct marbling, and minimal runoff indicate that carving can begin.
The Shallow Cut That Preserves A5 Marbling
Use length and angle instead of downward force
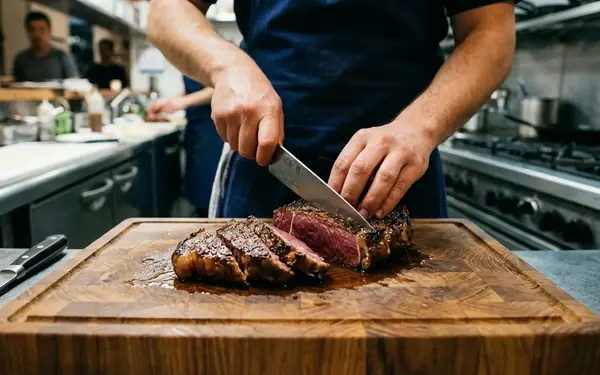
The knife should travel in long strokes against the grain at roughly 15 to 20 degrees relative to the cutting board. At that shallow angle, the blade runs almost parallel to the surface and creates a broad slice. Chopping vertically compresses a narrow line of softened fat and muscle; a long draw distributes pressure across the blade.
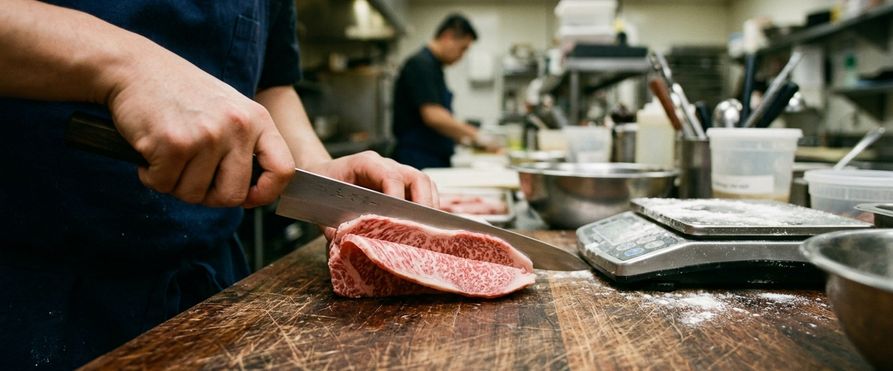
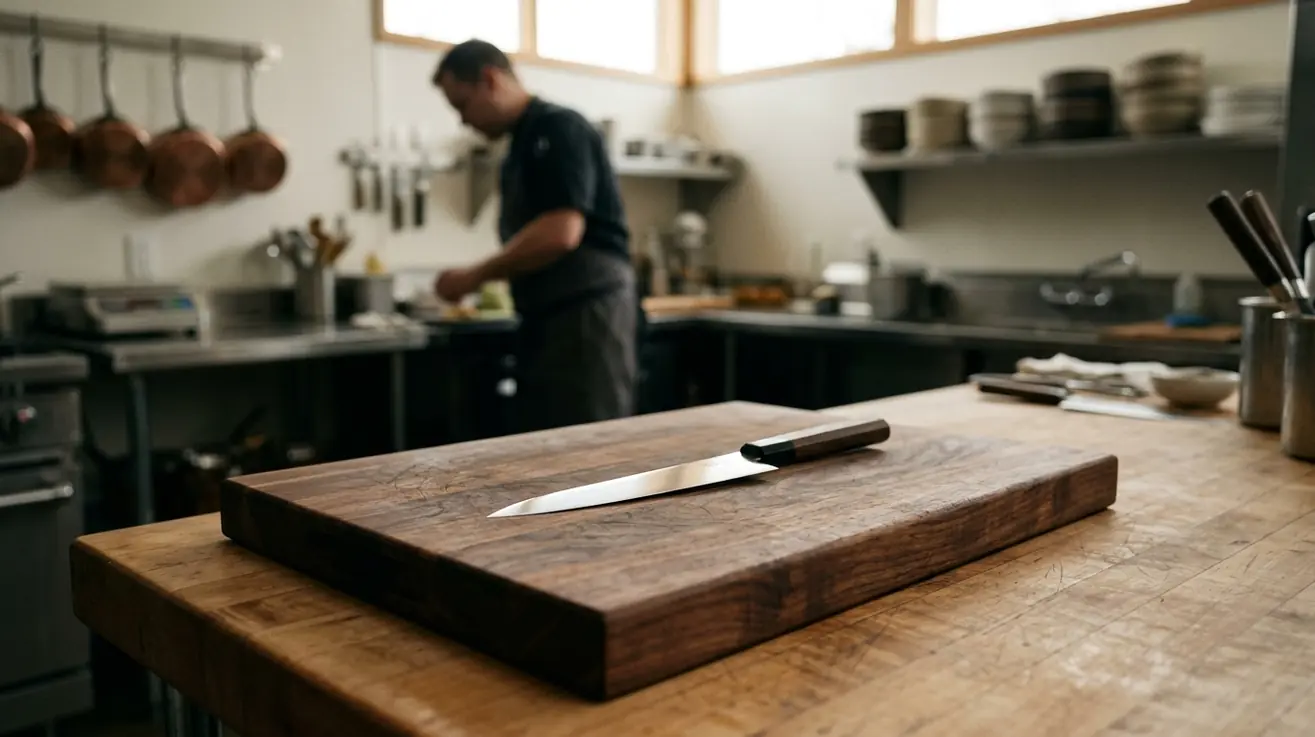
A 270mm to 300mm sujihiki suits this work because its narrow profile and length can cross the roast in one controlled pass. A long granton-edged slicer can also perform well. Sharpness matters more than the label on the knife: a dull edge demands extra pressure, catches the grain, and pushes fat ahead of the blade.
Slice thickness is best judged visually. Cut thin enough for the marbling to appear as a continuous pattern, while leaving enough body for the beef to hold together as it moves from board to plate. If the slice folds into a soft heap or tears at the edge, increase the thickness slightly and reduce pressure on the next stroke.
Wipe the blade with a warm, damp cloth after every second slice. This removes the film that causes fat drag without chilling the steel. Keep the cloth damp rather than wet so water never runs onto the roast.
From the Iidabashi Pass to a Home Cutting Board
Carry over the controls, not the equipment
At the Iidabashi location, roast beef can rest near residual kitchen warmth and be sliced as orders reach the pass. Ambient pass temperatures hover between 32 and 36 degrees Celsius, creating a controlled warm environment that most home counters cannot reproduce. Home service works better when the cook rests the roast once and carves only the portion headed directly to the table.
The kitchen briefly tested standard infrared heat lamps to preserve crust temperature during service. Direct radiant heat kept rendering the delicate fat near the surface, leaving a greasy exterior and weakening the roast as the knife passed through it. Resting near ambient pass warmth preserved better structure without continuously heating the exposed layers.
The transferable parts of the method are simple:
- Move the roast away from the hot cooking vessel.
- Rest it undisturbed on a warm, never hot, surface.
- Map the grain before placing the knife.
- Slice against that grain at a shallow angle.
- Clean the blade regularly to prevent fat drag.
- Carve only what will be served immediately.
Home cooks should skip heat-lamp improvisations and avoid treating every A5 cut as the same roast-beef joint. Rib, rump, and tenderloin differ in muscle structure, shape, and exposed surface area. Those differences affect how quickly the cut settles and where the grain turns. The approximately 1.5-kilogram roast described above offers a useful reference for a thick roast, while the surface cues confirm when a particular joint is ready.
Rest the Next A5 Roast, Then Carve to Order
One sequence from heat to plate
On the next A5 roast, remove the joint from its pan, place it on a warm rack or board, and cover it with a loose tent. Leave it untouched until the surface stops weeping aggressively and the roast feels settled.
Turn the beef so the knife will cross the muscle fibers. Hold a long, sharp slicer at a 15- to 20-degree angle, then draw it through the roast with a full, shallow stroke. Wipe the blade with a warm, damp cloth after every second slice and arrange each piece in a loose fan on a warm plate.
Serve that first plate immediately, and leave the rest of the joint intact until the next portion is ready to carve.