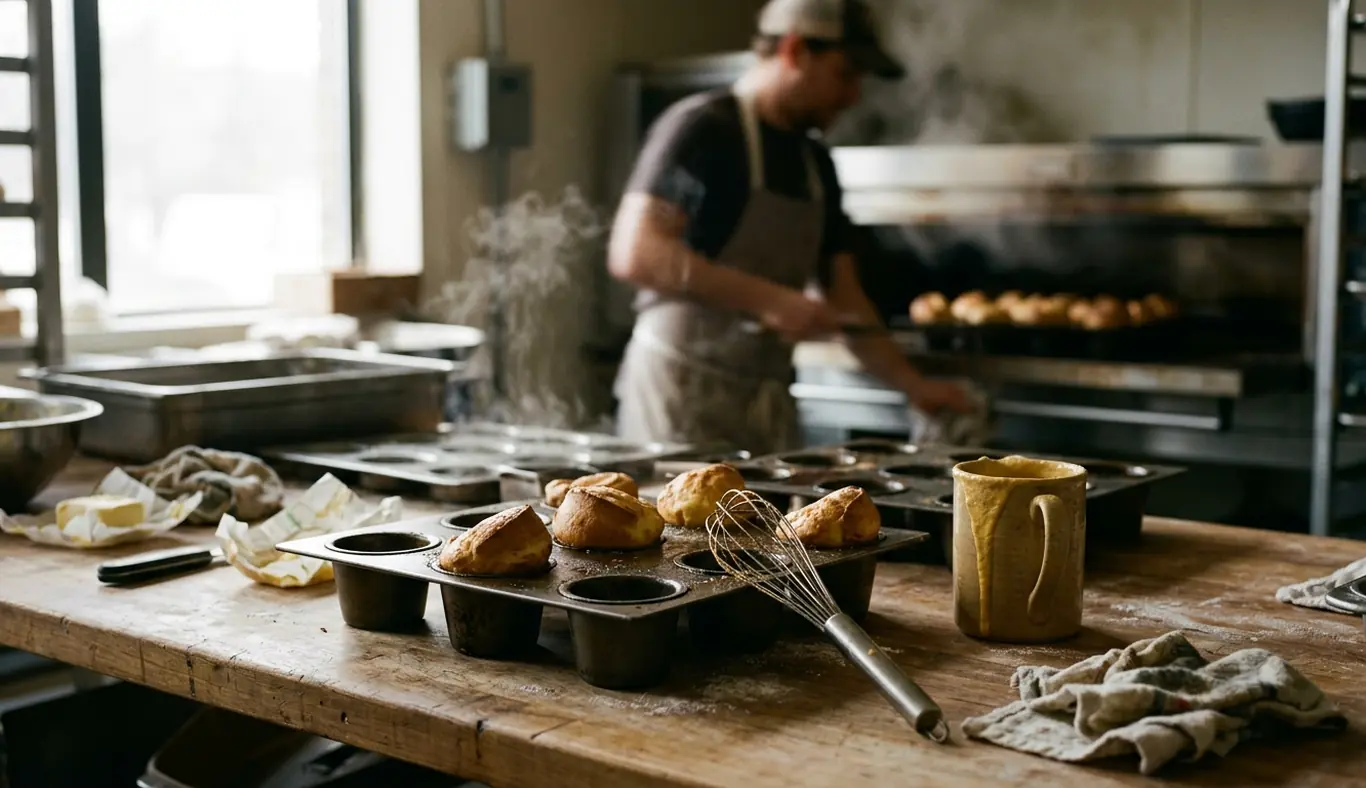
A restaurant popover has a demanding job. It must leave the oven tall, reach the table intact, and stay crisp long enough to meet a slice of roast beef without turning soggy. That brief journey exposes every weak point in the method, from a cool pan to an impatient mix.
At Gran Bocca, the popover tradition depends on controlled heat, rested batter, and disciplined timing. The equipment is straightforward. The coordination makes the difference.
Quick Nav
- What a collapsed popover costs at the table
- Why popovers belong beside roast beef
- How a preheated pan drives the rise
- Why the batter needs a cold rest
- How the temperature split creates steam
- When to stop mixing
- How fat and fill level shape the shell
- Why the oven door stays closed
What a Collapsed Popover Costs at the Table
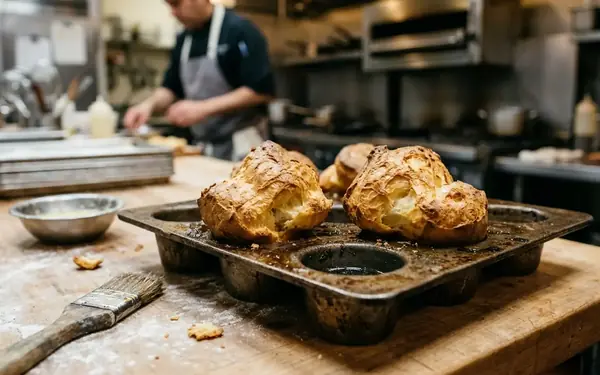
A low popover presents more than a cosmetic problem. Its base holds dense, unevaporated batter weight at the base, while the upper walls lose the brittle texture that should contrast with the meat. Gran Bocca’s service notes place that retained weight at 12 to 18 grams. On the plate, it reads as a greasy cup rather than an airy shell.
The dining room also imposes a clock. A finished popover needs to preserve its structural crunch for 8 to 12 minutes after baking, enough time for plating, pickup, and the walk to the table. A weak shell often softens before the guest cuts into the beef.
Protect the Crunch
Judge the base first. A browned crown can conceal damp batter below. Lift one test popover from its cup and check that the bottom feels light, dry, and rigid before releasing the batch for service.
Cold metal, insufficient oven heat, and excessive mixing all leave recognizable traces. Correct setup turns the popover into part of the meal’s architecture. Poor setup leaves it untouched at the edge of the plate.
How Popovers Earned Their Place Beside Roast Beef
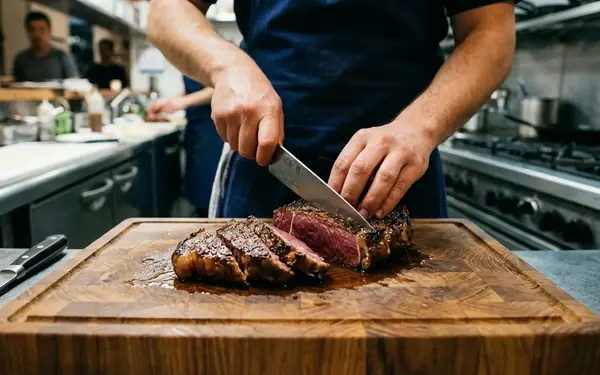
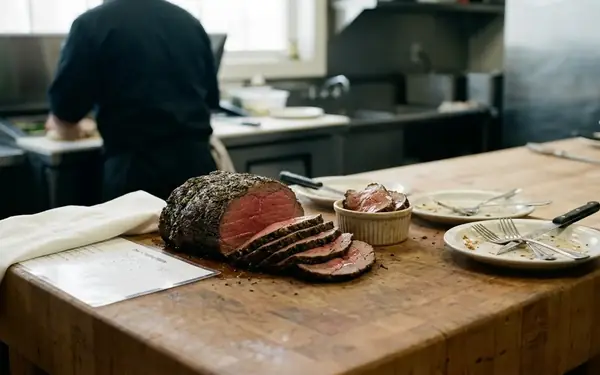
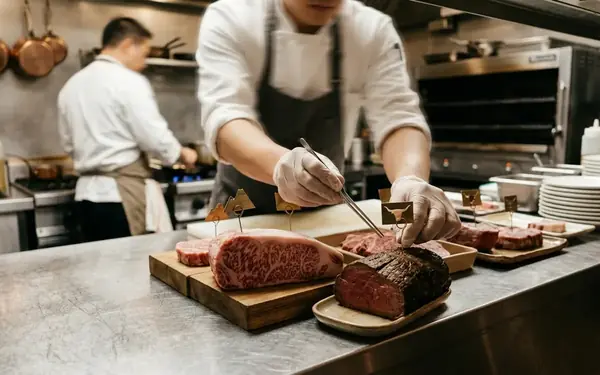
The Iidabashi kitchen pairs popovers with meat-centric plates because the textures work in opposition: crisp shell, hollow center, rich beef. Dinner cuts of roast beef run from 150 to 200 grams, so a dense bread can make the plate feel heavy before the final bite.
Early menu tests compared traditional ciabatta and house-made focaccia with the A5 wagyu plates. Their close crumb absorbed the meat juices quickly. The popover handled those juices differently. Its thin walls caught enough flavor to connect with the beef while retaining a brittle edge.
I judge the pairing by the second bite, after the shell has touched the plate and picked up a little clarified butter or juice. A strong popover still cracks. That small sound tells you the contrast has survived service.
The broader lesson for the sister restaurants is practical: this result comes from repeatable equipment and resting habits, rather than a fortunate tray. These specifications describe Gran Bocca’s dinner-service method. They reflect restaurant production at the Iidabashi location, not a universal formula for novelty baking at home.
The Preheated Popover Pan That Forces the Rise
Deep, heavy cups give steam a vertical path. Gran Bocca uses heavy-gauge carbon steel popover pans, though a sturdy muffin tin can follow the same principle when its cups and walls retain heat well.
The pans preheat at 230°C for 15 to 18 minutes before the batter arrives. That interval heats the metal itself, rather than merely warming the air around it. Once cold batter enters the cups, the pan should lose no more than 10°C. Greater heat loss slows oven spring and encourages thick lower walls.
A thin coating of hot fat prepares the surface for clean release. The batter should hiss when it enters. A quiet cup signals that the metal lacks the stored heat needed for immediate steam production.
Equal Cups, Equal Plates
Fill every cup to a similar depth. Uneven portions brown at different rates, complicate the oven timing, and produce an untidy lineup at the pass. Consistent volume gives each popover the same chance to climb before its structure sets.
The Rest Window That Builds Steam Power
Freshly whisked batter looks active, yet its flour still needs time to hydrate. A calm rest lets the mixture settle, softens stray dry pockets, and allows the larger bubbles to disperse without flattening the batter.
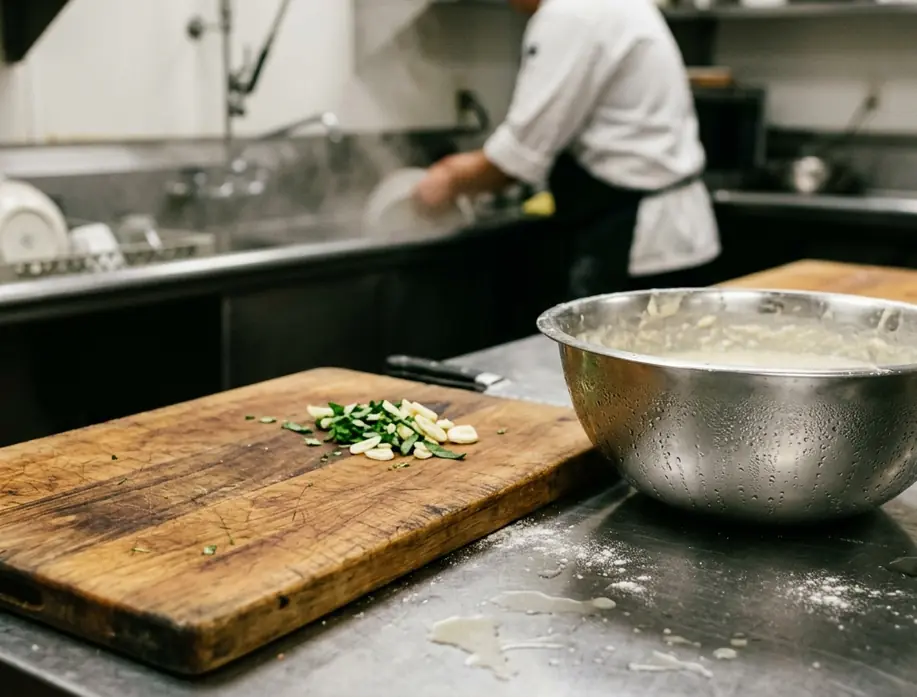
Gran Bocca refrigerates the mixture for 45 to 60 minutes at 3°C to 5°C. This window serves two purposes. Hydration becomes more even, and the batter reaches the cold starting point required for a forceful thermal shock in the oven.
Longer does not keep improving the mixture. Beyond 90 minutes, the proteins can over-relax while the starch takes on too much moisture. The baked result develops a gummy base instead of the crisp, hollow shell required beside the signature meats.
Time the Handoff
Begin heating the pan during the closing stretch of the refrigerated rest. Batter, fat, pan, and oven should reach their working states together. Holding any one of them while the others catch up weakens the launch.
Cold Batter, Blazing Oven: The Temperature Split
The hollow center comes from a deliberately severe temperature gap. Gran Bocca introduces batter near 4°C into a 230°C baking environment, creating a thermal shock of approximately 226 degrees. Moisture turns rapidly to steam and pushes the flexible batter upward along the hot cup walls.
A partially heated oven cannot supply the same force. The surface begins to set before the steam has expanded fully, leaving a low crown and a thick interior. Waiting for the oven indicator alone can also mislead; the chamber may reach temperature before a heavy pan stores enough heat.
The kitchen coordinates the two by loading empty pans into the convection ovens exactly 12 minutes before the batter is due. That step turns preheating into a timed production task rather than a vague instruction.
The Heat Handoff
- Rest the mixed batter under refrigeration.
- Bring the oven fully to 230°C.
- Load the empty metal pan for its final preheat.
- Add the measured fat and return the pan briefly to the heat.
- Pour the cold batter promptly, then start the bake without delay.
The sequence matters because steam begins forming as soon as the liquid touches the cup. The kitchen should spend those first seconds building height, not searching for a ladle.
How We Mix Without Killing the Air
A tall jug or deep bowl keeps the batter contained and makes portioning easier. A whisk offers direct feedback through the hand. A blender also works when used in brief pulses, though its speed makes overmixing easier.
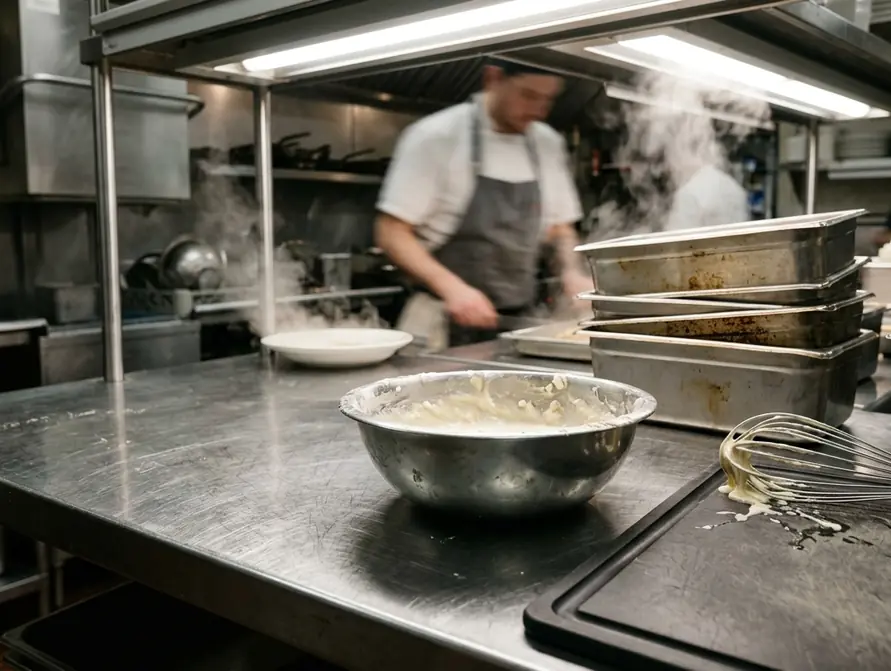
Gran Bocca restricts whisking to 15 to 22 seconds and stops when the final dry flour streaks disappear. Small lumps measuring 2 to 4 millimeters remain acceptable. They hydrate during the refrigerated rest and pose less risk than a glossy batter with an overworked gluten network.
Long mixing creates elasticity where the popover needs flexibility. The walls resist expansion, the crumb turns rubbery, and steam struggles to carve out the center.
Stop at Smooth Enough
Use appearance as the brake: no broad flour streaks, no prolonged polishing, and no attempt to chase every tiny lump. The rest period finishes the work more gently than the whisk can.
Fat Choice and Fill Level for a Crisp Shell
Fat performs two jobs inside the cup. It prevents sticking and fries the outer surface during the first high-heat minutes. A neutral high-heat fat can work, but clarified butter brings a clean dairy note that sits naturally with roast beef.
Each cup in Gran Bocca’s setup receives 3 to 4 grams of clarified butter. Its smoke point of somewhere around 232°C supports the initial 230°C blast without introducing an acrid edge. The coating should cover the bottom and lower sides in a thin film; a puddle creates a greasy base.
The cups are then filled to 55 to 62 percent of their total volume. That space above the batter gives the crown room to rise. Overfilling lets batter spill across the rim, where it can anchor the expanding shell and pull the dome down.
This precision pays off at the table. A shatter-crisp wall cuts through roast beef juices and the deep richness of A5 wagyu. Within the wider pasta & lunches menu, the popover also offers a cleaner textural break than another close-crumb bread.
Why the Oven Door Stays Shut Until the End
Once the tray enters, restraint becomes the chief technique. The initial bake runs for 14 to 16 minutes at maximum heat. Gran Bocca then lowers the oven to 175°C for another 12 to 15 minutes, allowing the exterior walls to dry while the structure firms.
Opening the door during the first 20 minutes can cause an ambient temperature drop of 25°C to 35°C, permanently stunting steam expansion. The tall crown may look established through the glass, but its inner walls remain fragile. A quick inspection can collapse an otherwise sound batch.
If the shells retain surface moisture near the end, a brief lower-heat dry-out can sharpen them. A carefully controlled cracked-door finish also releases residual humidity after the structure has set. Both moves belong at the end of the bake, never during the rise.
Standardizing the rest and thermal-shock sequence allows the kitchen to produce 80 to 110 popovers during dinner service with a failure rate below 4 percent. That consistency comes from a chain of modest controls: measured fat, even fill, stored pan heat, cold batter, and an uninterrupted bake.
Build the service around one firm rule: close the oven door, leave it closed through the rising phase, and let heat finish the popover before curiosity gets a vote.